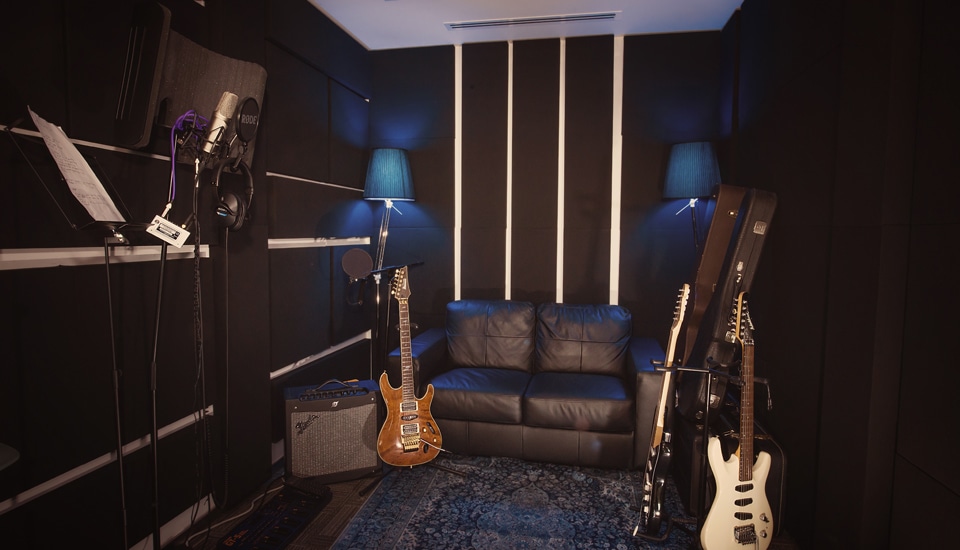
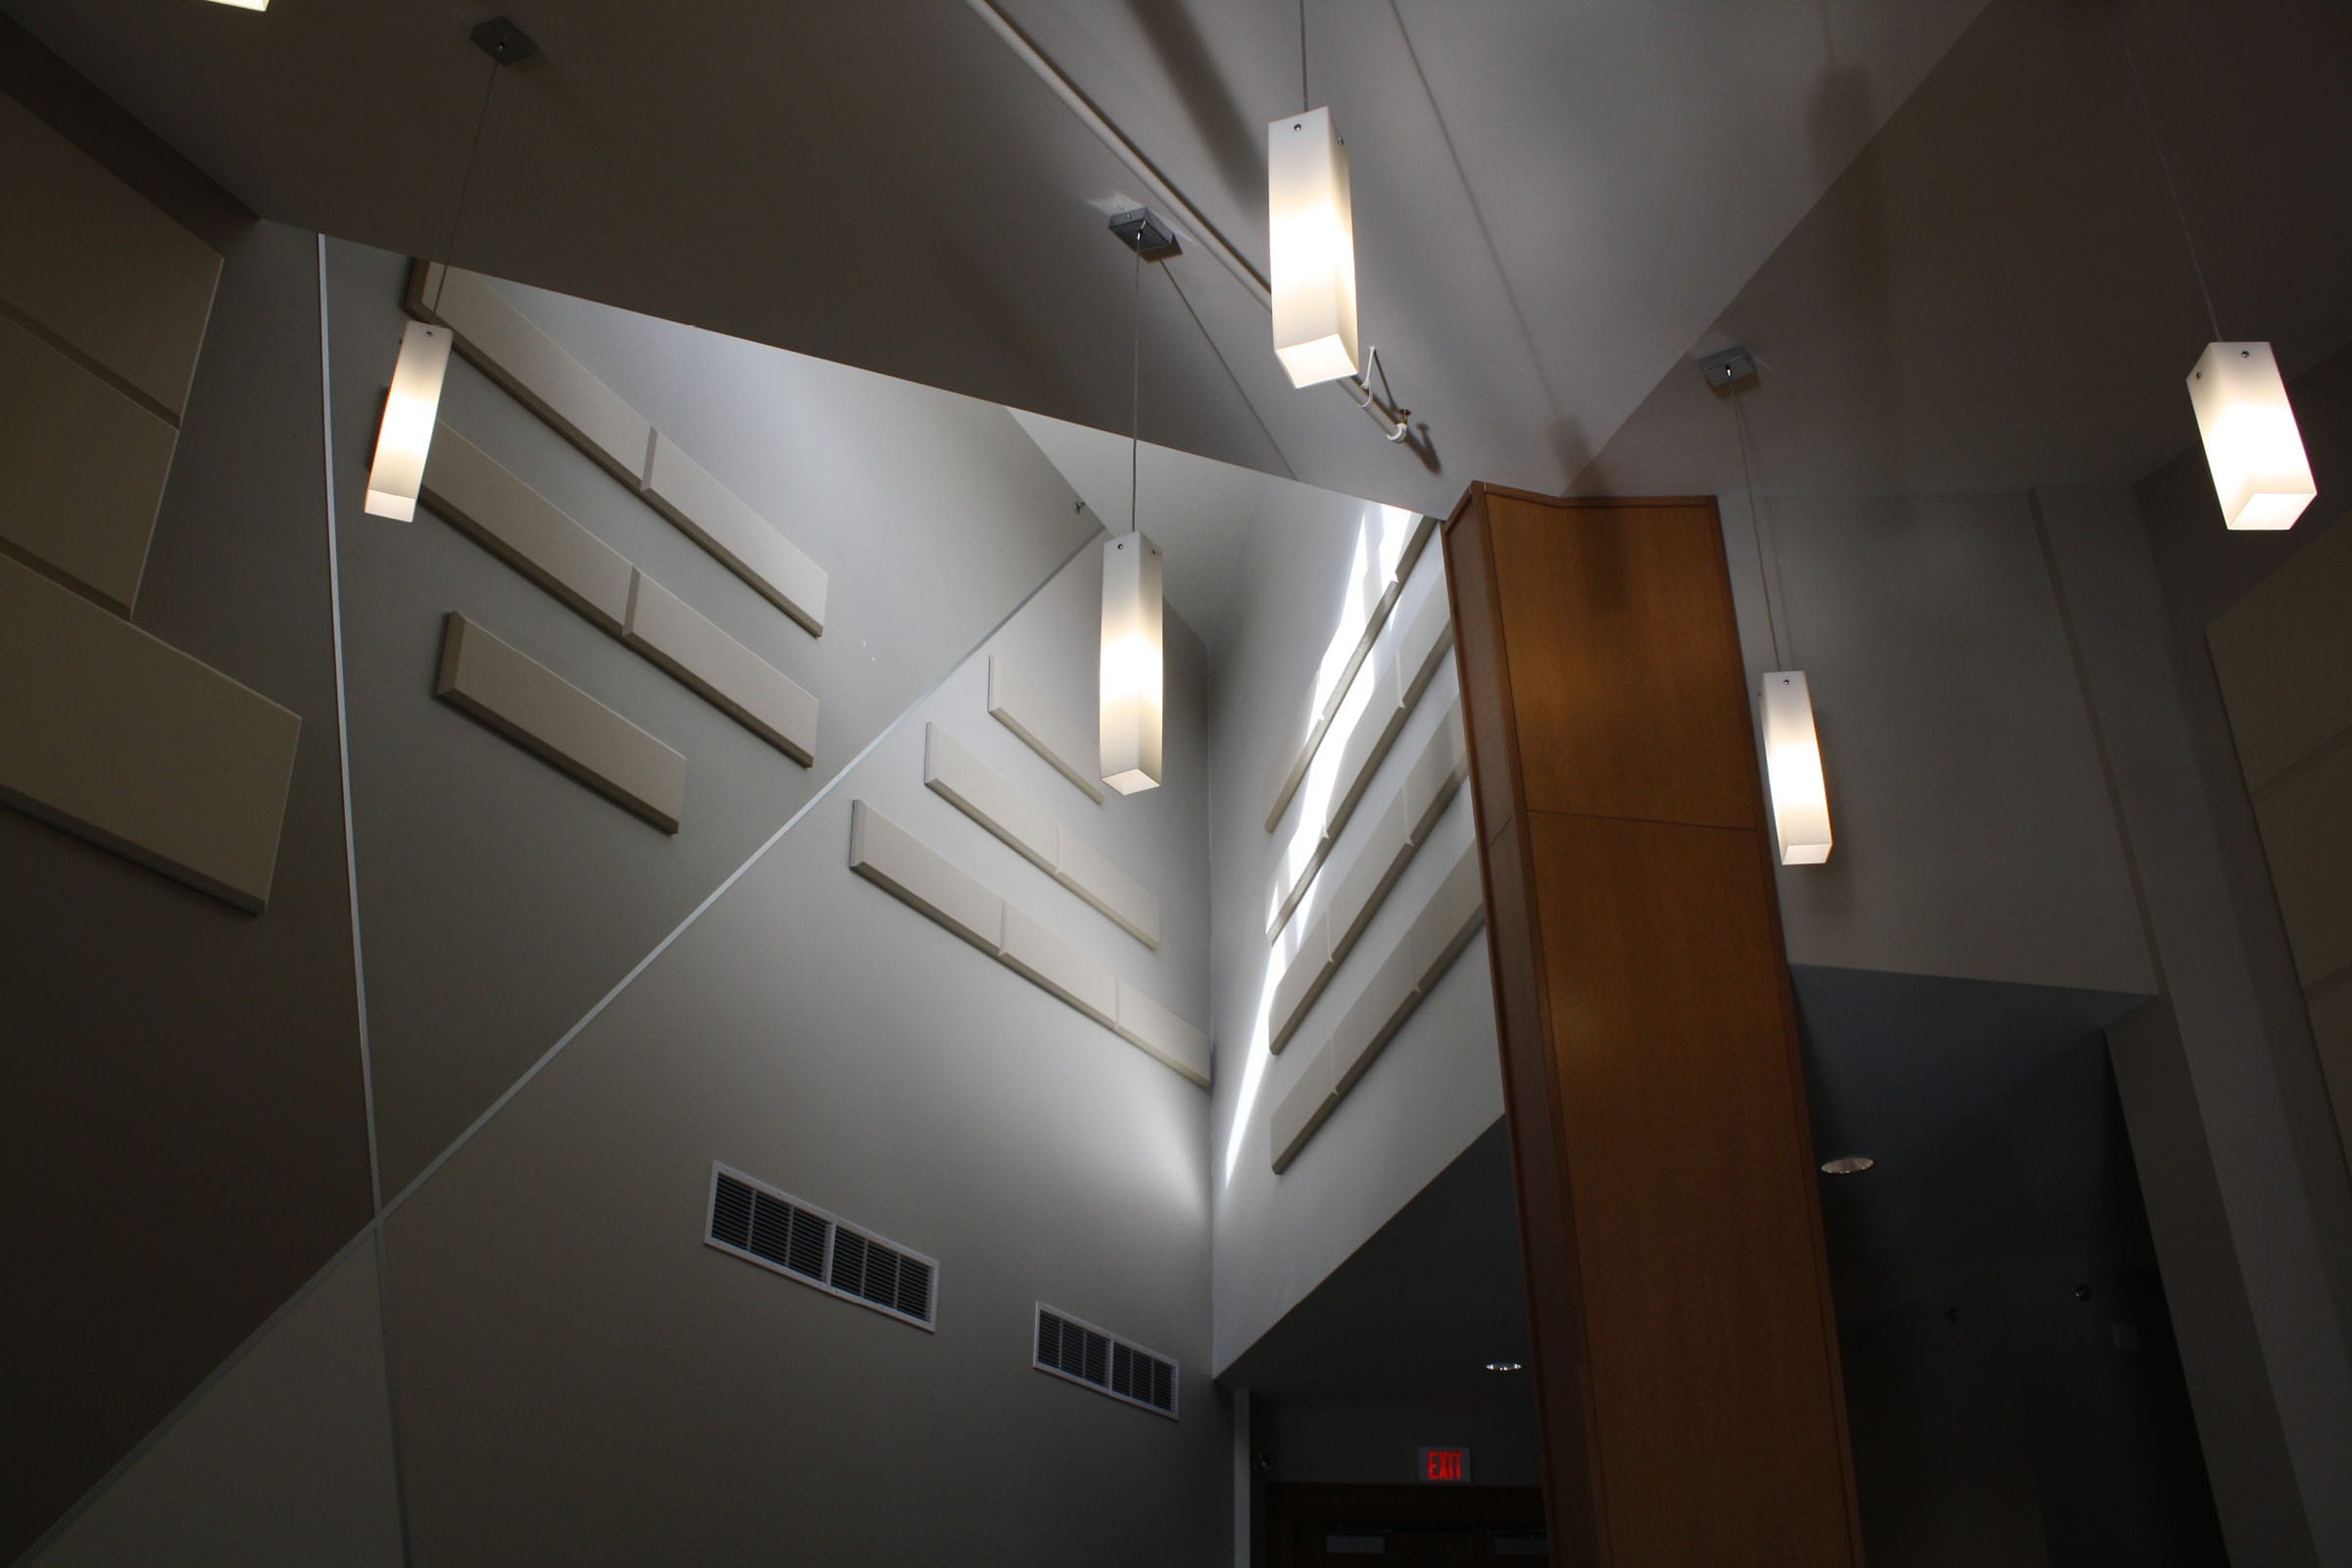
Whether you are designing a vocal booth, or an isolation room for instruments, the desired outcome is the same: The room must keep outside noise from polluting the recording, and the room itself must not introduce anomalies to the voice or instrument.
Determining the Size of the Room
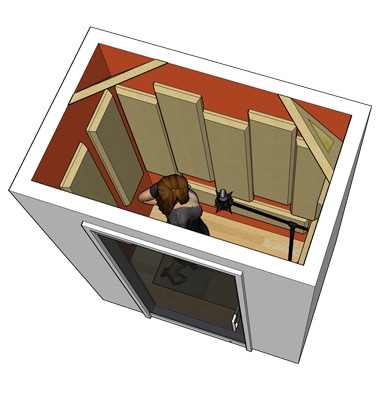
Vocal booths are generally smaller rooms designed to accommodate one or two people, while isolation rooms need to be large enough to accommodate a drum kit, guitar amp, and so on. Most vocal booths tend to range from 3′ x 4′ to 4′ x 6′ in size. (92cm x 122cm to 122cm x 155.5cm)
Wall and Floor Construction
Ideally, you will want to build a ‘room within a room’ whereby the walls of the vocal booth are separated from the studio so that they are decoupled. The same applies to the floor. Professional studios will ‘float’ the floor by constructing walls on top of U-shaped rubber isolators.
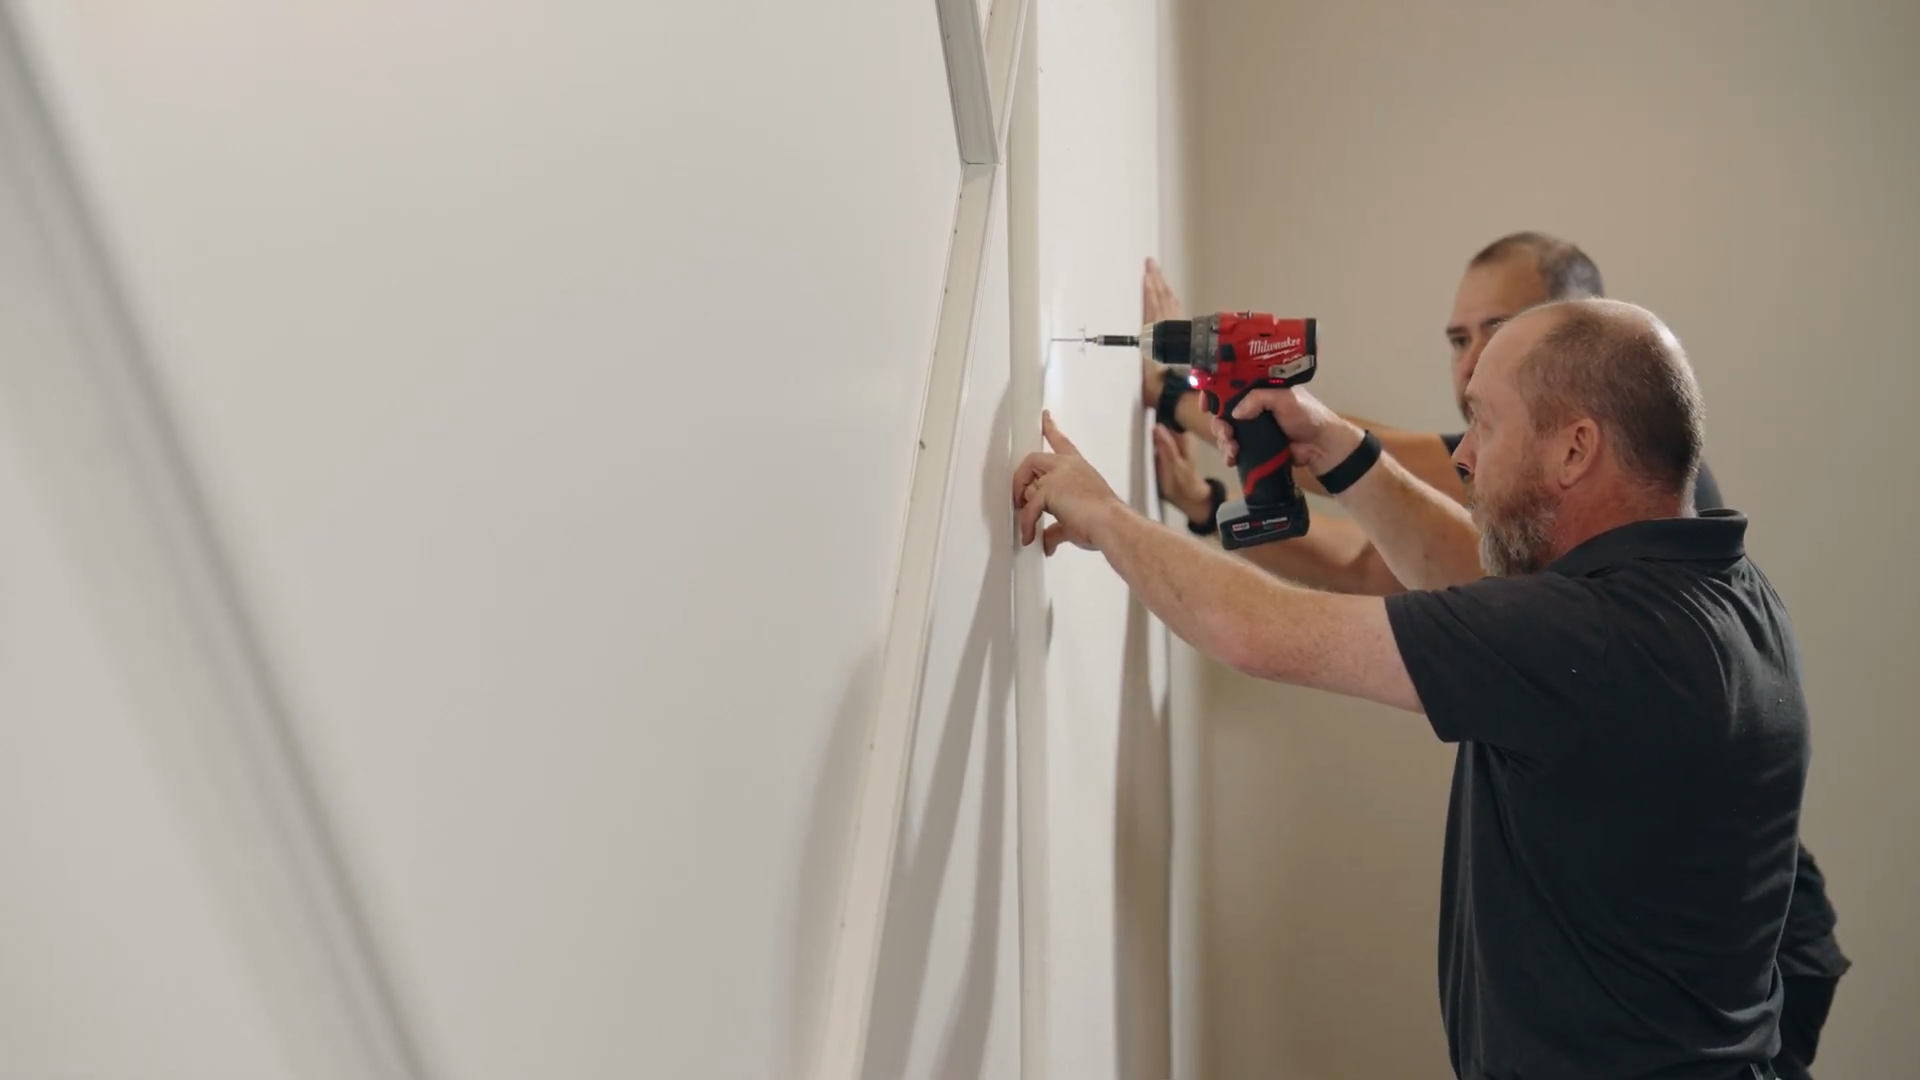
Wall and ceiling construction can be made with various degrees of isolation. Standard wall construction with one layer gypsum board on each side of the wall would be the minimum. You can increase the isolation by applying a second layer of gypsum board to increase the mass. Keep in mind that sound is energy, and the more mass you have, the more energy will be required to cause the wall to vibrate and pass sound.
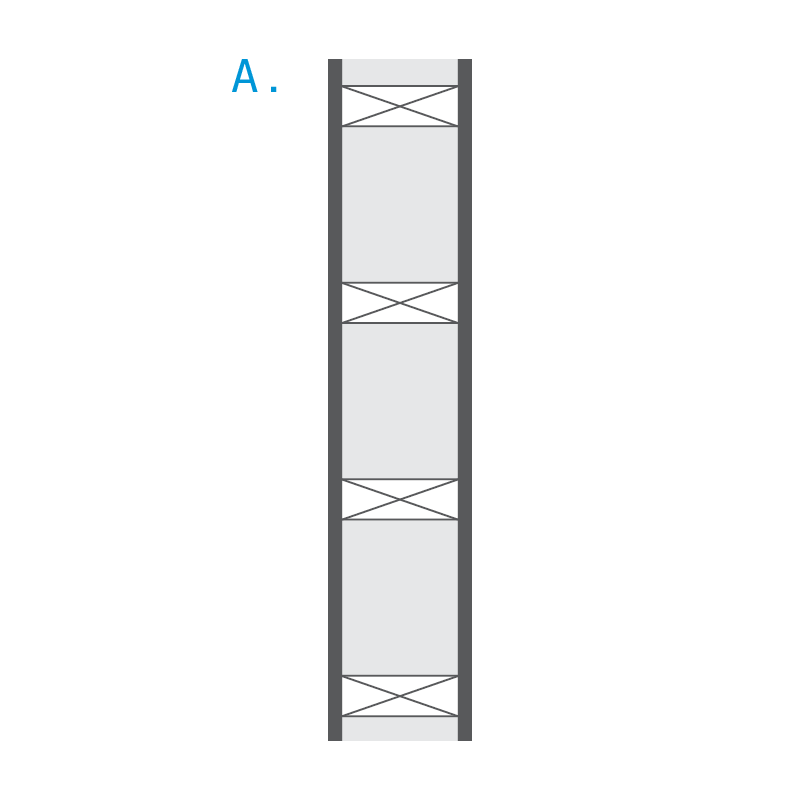
A. Basic room construction employs a single sheet of gypsum board on each side of the wall.
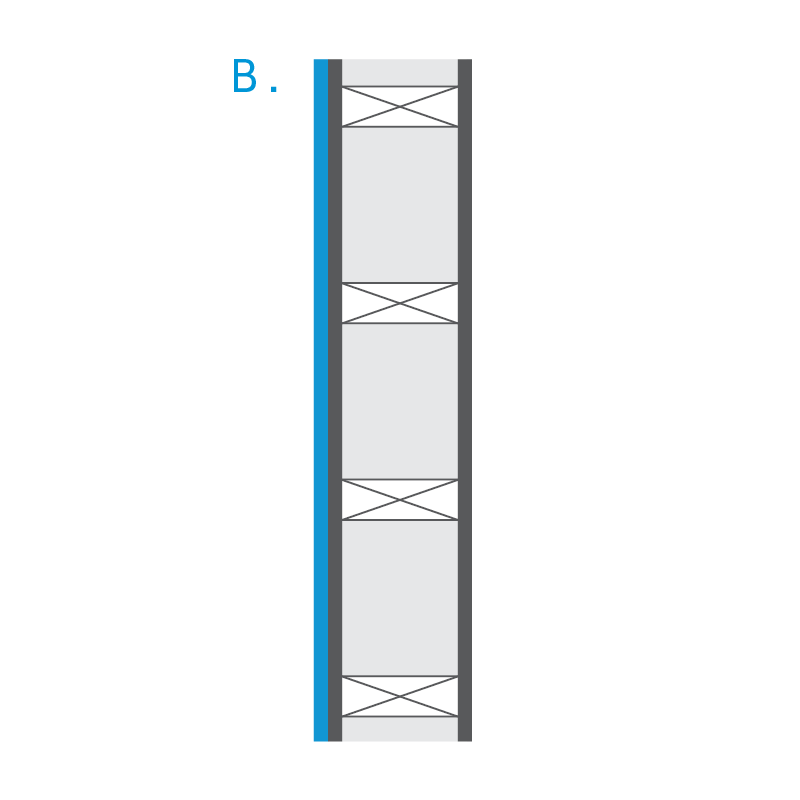
B. Increasing the mass with a second piece of gypsum board will improve the isolation.
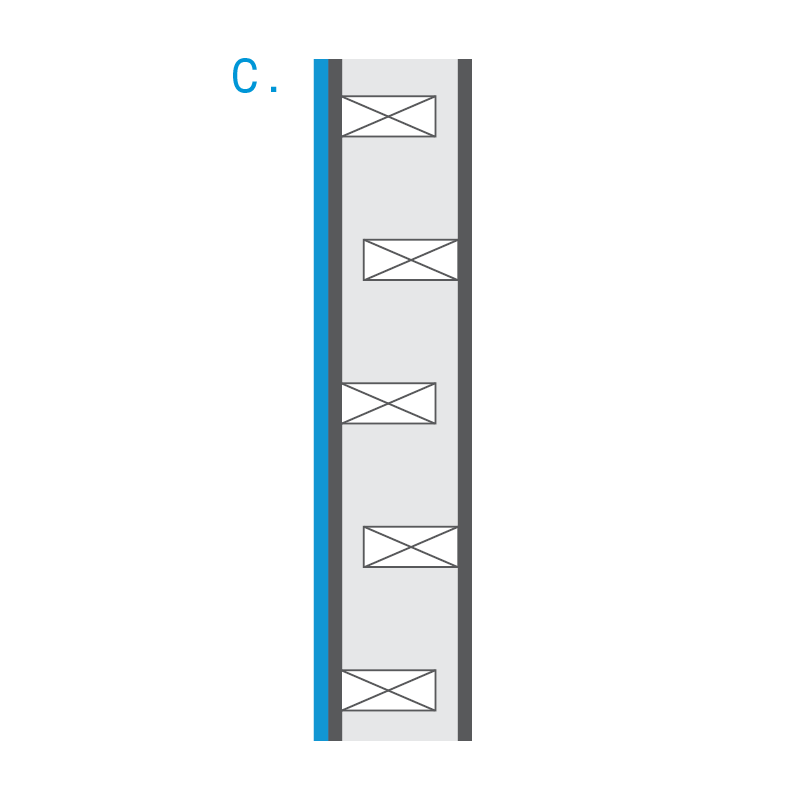
C. Offset stud wall construction decouples the inner wall with the outer for maximum isolation.
You can significantly improve room isolation by decoupling the inner and outer wall using a resilient channel or offset stud wall construction. By allowing each surface to float independently, energy must work twice as hard to get both surfaces to vibrate. Altering the mass on one wall by varying the thickness of the gypsum board will introduce an impedance mismatch. This helps eliminate vibrations from working sympathetically. The best isolation will occur if you can both increase the mass and decouple the wall and ceiling surfaces.
Other Issues to Consider
Once you have determined the size of the room and wall construction, you should consider some of the issues that you will face as you develop the design.
Door Placement
Smaller rooms are best accessed via a door that swings outward from the room. This may seem obvious to some, but there have been many vocal booths that have had the doors swing inward making it difficult to get in and out; especially when people, mic stands, and music stands are in the way! Sliding glass doors can be effective, but these require more space and of course introduce a much larger reflective surface. Make sure the seal around the door is heavy-duty to stop air.
Window Placement
The window is basically used as a means to see the orchestra leader, musicians, or producer. You will want to position the viewing angle so that the person inside the isolation room can see the others so that visual cues are readily captured.
Lighting
Small rooms tend to get warm very quickly. Therefore, low-energy lighting is best. Also, the use of dimmers should be avoided as they often generate electromagnetic fields that can introduce hum and buzz into the recording.
Electrical
Make sure you have easy-to-access electrical outlets that are positioned high enough to make connecting amps and effects efficient. Wall-mounted power bars are a great solution. The last thing you want to do is open the door to bring a power cord in! Make sure all outlets are sealed to stop air passages.
Ventilation
One of the most challenging aspects of building an isolation room is ventilation. Small rooms tend to get warm very quickly and keeping fresh air in the room will keep the talent happy and alert. The best way to introduce airflow is to build air intake and outflow mazes whereby fresh air would enter down low at floor level and exit high up at the ceiling using natural convection to aid the system. Two or three low-speed fans with a larger out-flow port typically work better than one powerful fan that must whirl at a higher speed.
Acoustically Treating the Inside of the Room
A common problem found in most voice-over rooms is that they tend to sound boxy. This is due to a combined effect of the room dimensions and the quality of the acoustical material used to control the room reflections.
One merely needs to calculate the resonant frequency inside the room to determine where the problem will be. The physical size of a typical vocal booth will produce standing waves in the 150Hz to 350Hz region. This causes the voice to be accentuated in the lower mid-range.
| Room Dimension | Metric | Resonance |
| 8 feet | 2.44 meters | 141 Hz |
| 7 feet | 2.13 meters | 161 Hz |
| 6 feet | 1.83 meters | 188 Hz |
| 5 feet | 1.52 meters | 226 Hz |
| 4 feet | 1.22 meters | 283 Hz |
| 3 feet | 0.91 meters | 377 Hz |
This table shows the room size dimensions and the resulting standing waves that will be produced inside. A 6 foot (1.83 meters) wall will produce resonance at 188Hz.
Selecting the Right Absorptive Panels
When treating the inside of a vocal booth, it makes sense that one should select an absorptive material that actually works in the vocal range. Although this seems obvious, most vocal booths employ materials that are unable to absorb the critical lower mid-range where the voice energy is most prevalent.
The problem is further accentuated by the use of low-quality, low-density acoustic materials. Low density 1″ and 2″ thick foams are usually ineffective below 500Hz. When they are applied inside a vocal booth, they only remove the high frequencies, leaving the lower mid-range unaffected. Combine this with problems caused by the room geometry and the results are predictable… the room sounds bad!

Theoretically ‘flat’ room response

Resonance peak due to room geometry

Effect of low-quality absorptive panels
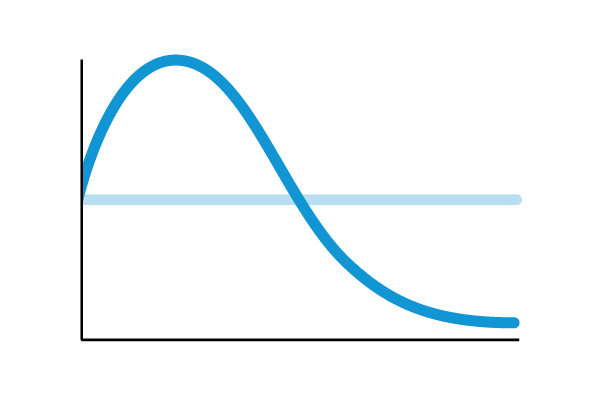
Resulting room frequency response
If you consider the frequency response of a typical human voice, we can see that most of the energy is centred between 200Hz and 1500Hz. If you refer back to the room dimensions and resulting resonant frequencies, it is easy to understand how the boxy ‘chest hump’ tone in most vocal booths is produced.
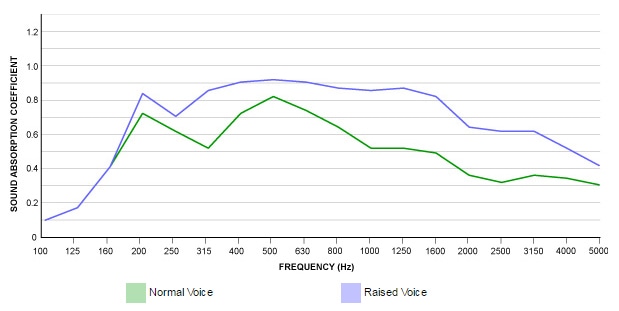
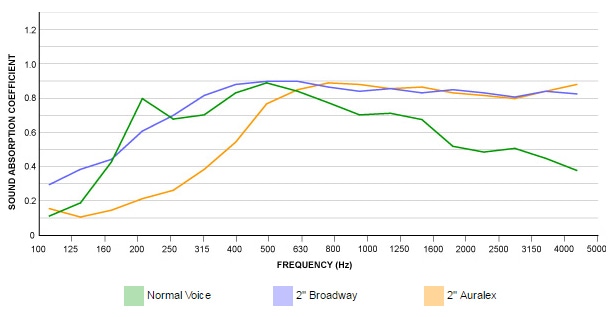
Now, if we average out the voice and then superimpose the performance of two acoustic panels to predict what will happen, the Broadway panel absorbs most of the voice energy down to about 200Hz, while the foam will only absorb frequencies above 500Hz. Herein lays the problem: Typical foam panels will do nothing to help reduce the low-frequency build-up in the room and the result is excessive bass known as chest hump.
For vocal booths that have this problem, a wonderful add-on is the Primacoustic Cumulus™ Tri-Corner Trap. The innovative design lets you position the Cumulus up, out of the way in the most effective position of all: the tri-corner. Sound naturally gathers in corners as the walls and ceiling combine to act as waveguides. The deep air cavity behind the panel creates an effective bass trap that will help control low frequencies, a problem that will surely be present in any small room.
Rectangular Vocal Booth
Recommended Products
1 box of 2″ Control Columns (12 panels) 1 box of Cumulus triangle traps (2 panels) 1 box of Impalers
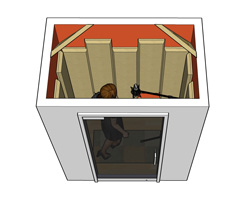
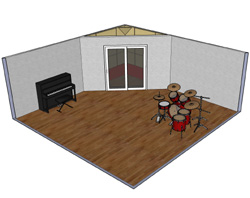
Corner Vocal Booth
Recommended Products
1 box of 2″ Broadband Absorber (6 panels) 1 box of 2″ Control Cubes (12 panels) 1 box of Cumulus triangle traps (2 panels) 2 boxes of Impalers
Room Kits
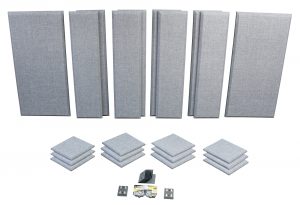
The Primacoustic London Room Kits are designed to address acoustic issues that are common in all rooms. Components such as wall panels, bass traps, diffusion, and hardware are bundled in order to make the job easier for those starting their vocal booth from scratch.
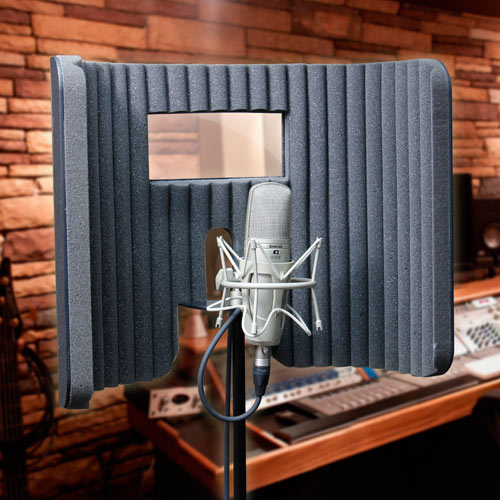
Portability
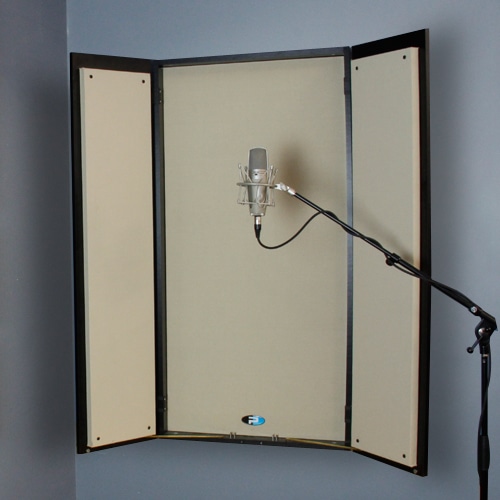
Not everyone has the time, resources, and space needed to construct a fully operational vocal booth. The FlexiBooth and VoxGuard are designed as a secondary option to make any room more suitable for vocal recording. They are also easy to move and install, making them perfect for portable work.
Nothing is a one-size-fits-all solution. That’s why we have a specialized team of trained acousticians who are available to give you a custom product offering that addresses your specific needs. We offer free quotes, or are happy to help assist you with anything you need. You can also design your personalized room in our Room Designer and build your dream studio. If you have any questions please feel free to contact us!
